Here are the Following Steps to create a Shopify Online Store:
Step 1: Sign Up and Choose a Plan
The first step is to visit the Shopify online store website and sign up for an account. Shopify online store offers a “14-day free trial” l and allows you to explore its features before committing to a plan. Once signed up, select a suitable pricing plan based on your business needs. Choose from a Basic Shopify Account to an advanced-level store. Each Shopify Store offers various features to cater to different scales of businesses.

Step 2: Customize Your Store Settings
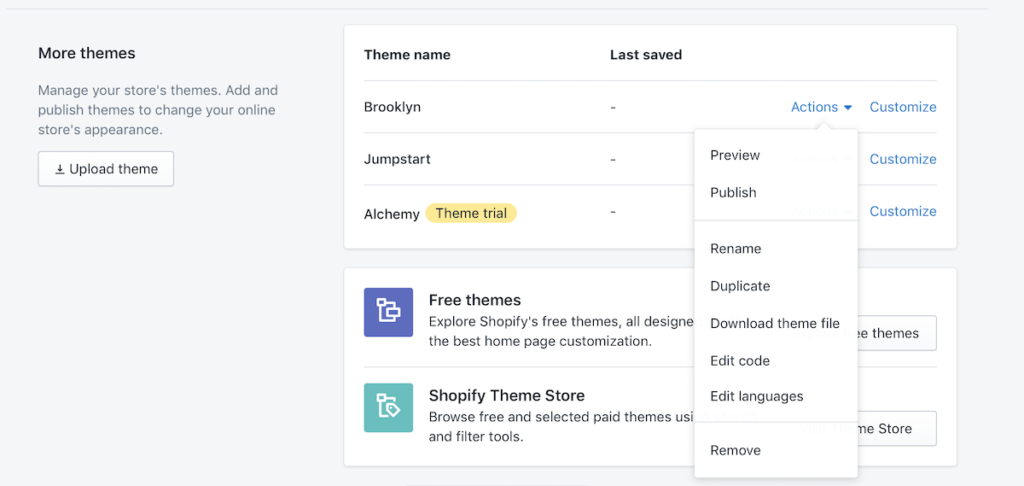
After creating your Shopify account, you will be directed to the Shopify admin dashboard. Here, you can customize your Shopify store settings, including your store name, address, currency, and other preferences. Take your time to configure these settings to align with your brand identity.
Step 3: Pick a Unique Domain Name and Hosting
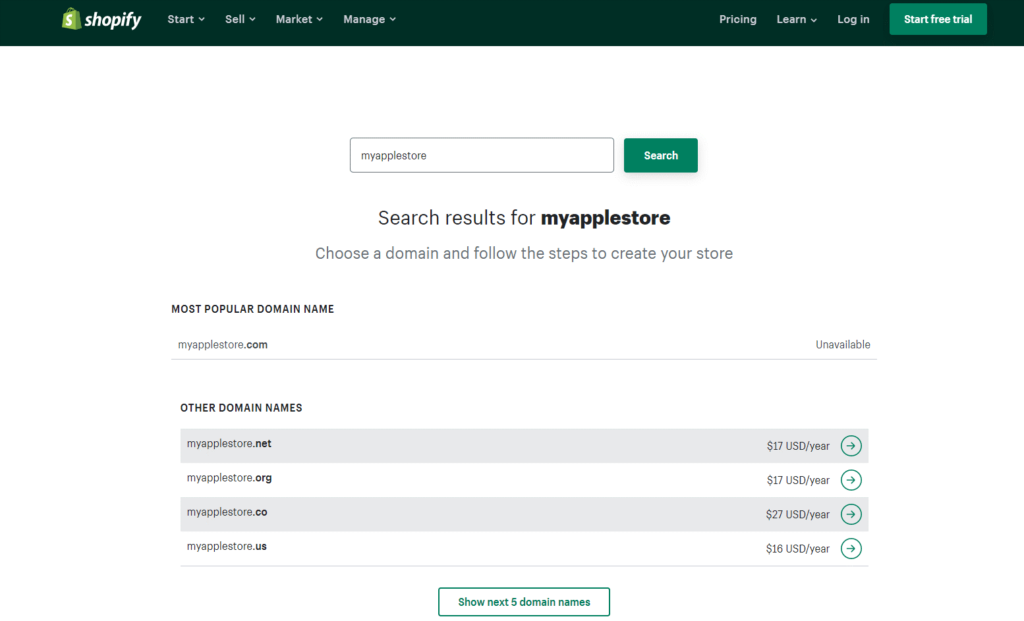
Select the right domain name and hosting provider company. Your domain name is your Shopify online store front’s address, so make it memorable and reflective of your brand. Theta Solutions allows you to buy a new domain and hosting or connect an existing one. Ensure your domain name is unique, easy to spell, and aligns with your business identity.
Step 4: Choose a Shopify Theme
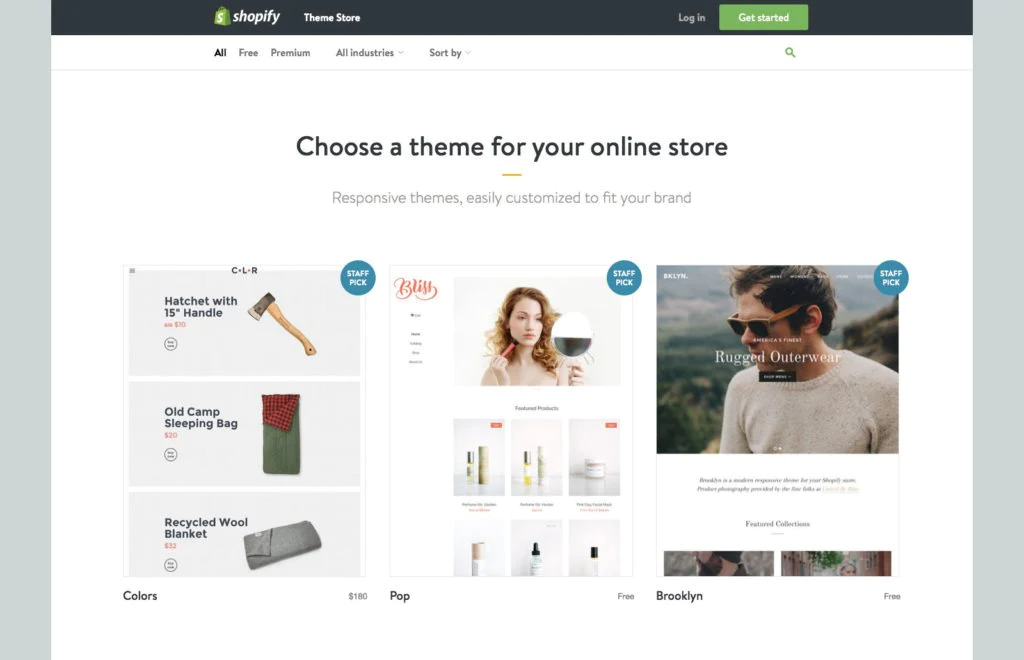
Shopify online store design offers a variety of themes to give your store a visually appealing and professional look. Browse through the Shopify store design theme and select a theme that suits your business and product offerings. Once chosen, customize the theme to match your brand colors and style.
Step 5: Add Your Products
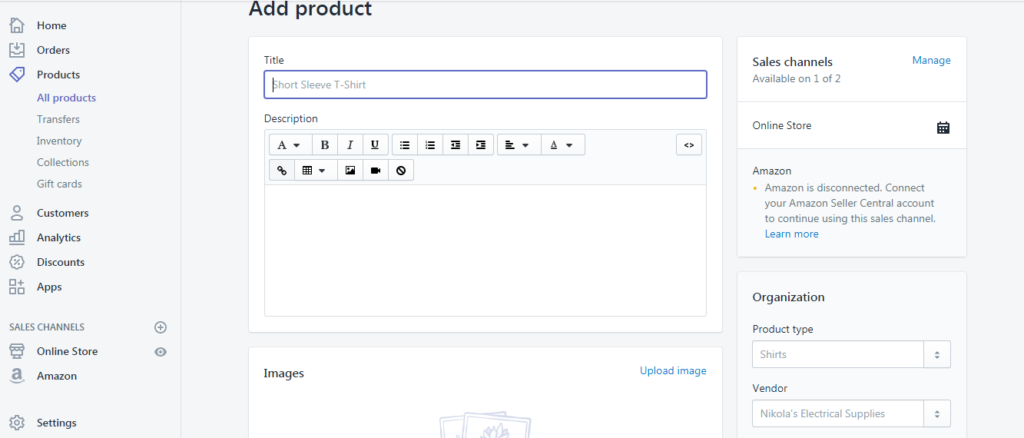
Now comes the exciting part-adding your products to your Shopify online store. Navigate to the Products section in the admin dashboard and click on “Add product.” Fill in the product details, including title, description, price, and images. You can organize your products into categories to enhance the shopping experience for your customers.
Step 6: Set Up Your Payment Gateway
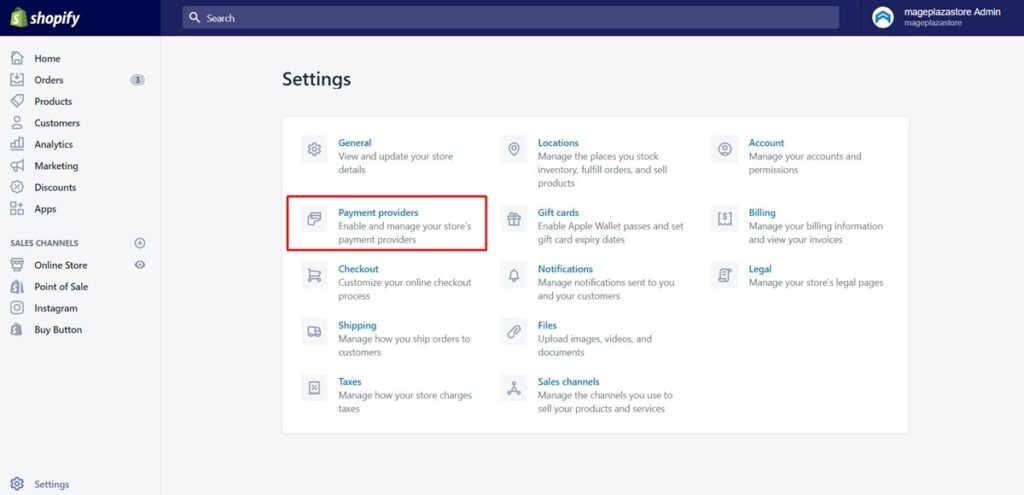
You’ll need to set up a reliable payment gateway. Shopify online store supports various payment options, including credit cards, PayPal, and more. Choose the payment methods that best cater to your target audience and configure them in the Payments section.
Step 7: Configure Shipping Settings
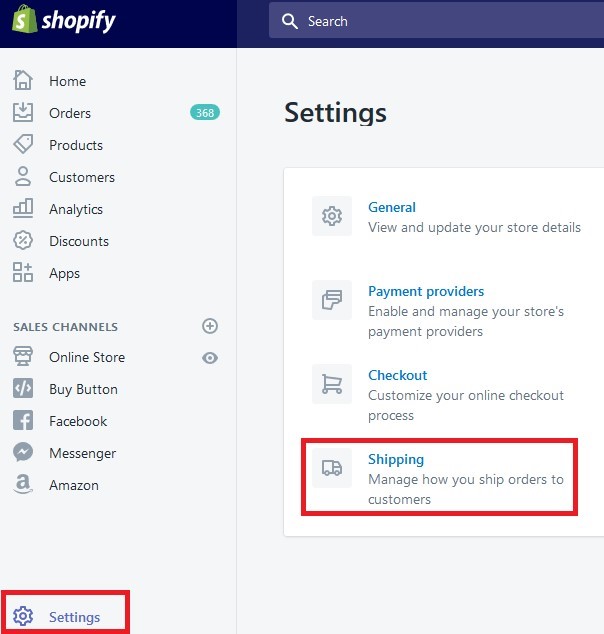
Determine your shipping strategy by configuring the shipping settings. Specify shipping zones, rates, and delivery times to provide accurate information to your customers. If you’re selling digital products, you can skip this step or customize it according to your needs.
Step 8: Launch Your Shopify Online Store
Before launching your Shopify online store, thoroughly review and test its functionality. Check the product pages, navigation, and the overall user experience. Once satisfied, click on the “Launch” button to make your Shopify store live.

Step 9: Market Your Store

Now that your store is live, it’s time to drive traffic and attract potential customers. Utilize social media, email marketing, and other online channels to promote your products and engage with your audience. Consider running promotional campaigns to boost your store’s visibility. Theta Solutions Provides a global service to Shopify development online store.
.